Executive Summary
Vercel's developer experience is unparalleled, but the moment your Next.js application hits scale, the bandwidth markup and serverless function limits can bankrupt a growing startup. In this comprehensive engineering deep-dive, we deconstruct the "Serverless Trap" and reveal how to build a robust, self-hosted Vercel alternative. You will learn how to deploy Next.js 15 and React apps on your own VPS using PM2 Cluster Mode, Nginx Reverse Proxying, and BoostonCP's App Engine—achieving 99% of the convenience for 1% of the cost.
The Vercel Trap: When Convenience Becomes a Liability
Let's be brutally honest. When you first spin up a Next.js project, running vercel deploy feels like magic. There is no server to provision, no Nginx block to write, and no SSL certificate to negotiate. It just works.
But as your application transitions from a weekend project to a production-grade business, the reality of the Serverless model sets in. Vercel, Netlify, and other Platform-as-a-Service (PaaS) providers don't just sell you hosting; they sell you abstraction. And that abstraction comes with an astronomical premium. The moment you exceed your included bandwidth (often priced at $40+ per 100GB of overage) or hit execution timeouts on Edge Functions, the bill scaling becomes predatory.
Consider the raw economics: A standard $5/month VPS from Hetzner or DigitalOcean provides 1 vCPU, 1GB RAM, and 1 to 20 Terabytes of outbound bandwidth. To get 1 TB of outbound bandwidth on a popular PaaS, you might end up paying hundreds of dollars. The tech industry is quietly shifting back to the metal. To learn more about this industry-wide migration, read our analysis on the Modern Dev Crisis.
Vercel Pro vs. Self-Hosted VPS (The Cost Comparison)
| Metric | Vercel Pro ($20/mo baseline) | Self-Hosted VPS ($5/mo) + BoostonCP |
|---|---|---|
| Included Bandwidth | 1 TB (Then $40 per 100GB) | 10 TB to 20 TB (Essentially Free) |
| Serverless Execution Time | Limited (10-300 seconds max) | Unlimited (Long-running WebSockets) |
| Database Proximity | Network latency to external DB | Localhost (0ms latency to MySQL/Postgres) |
| Background Jobs / Cron | Requires 3rd party APIs (QStash) | Native Linux Crontab & Systemd |
The Architecture: Nginx Reverse Proxy & PM2 Daemonization
If we are going to build a self-hosted Vercel alternative to deploy Next.js 15, we must recreate the underlying routing architecture. When you run npm run start on your local machine, Next.js binds to a local port (usually localhost:3000).
You cannot simply expose port 3000 to the public internet on a VPS. Node.js is a phenomenal runtime, but it is not designed to handle raw HTTP traffic edge-cases, SSL/TLS termination, or DDoS mitigation like a dedicated webserver can. This is where the Reverse Proxy pattern comes in.
1. The Nginx Reverse Proxy Layer
Nginx sits at the edge of your server (Port 80 and 443). When a user navigates to https://app.yourdomain.com, Nginx terminates the SSL connection, inspects the headers, and proxies the raw request internally to 127.0.0.1:3000. This architecture is crucial for production web servers because it allows Nginx to cache static Next.js assets (like images and CSS) from the `.next/static` folder directly from the SSD, bypassing the Node.js event loop entirely.
2. The PM2 Process Manager (Cluster Mode)
Next.js is built on Node.js, which is inherently single-threaded. If a heavy Server-Side Rendering (SSR) operation blocks the event loop, all other concurrent users will experience a hang. To solve this, we use PM2 (Process Manager 2).
PM2 allows us to run Next.js in Cluster Mode. It spawns multiple Node.js processes (one for each CPU core) and balances the HTTP traffic across them. Furthermore, PM2 daemonizes the application—meaning if the Next.js app crashes due to an unhandled promise rejection, PM2 will instantly restart it before users even notice.
The Missing Pieces: Next.js Caching & Image Optimization on a VPS
When you deploy to Vercel, two critical Next.js features work "magically" behind the scenes: Data Caching (via Vercel's Edge Network) and Image Optimization. When you move to a VPS, you are responsible for providing the hardware to support these features.
1. Handling the Next.js Data Cache
Next.js 15 heavily relies on the Data Cache and Full Route Cache to serve pages instantly. On a VPS, this cache is written directly to the local filesystem (inside the .next/cache directory). If your VPS runs on slow HDD or SATA SSDs, your SSR performance will bottleneck at the disk I/O level.
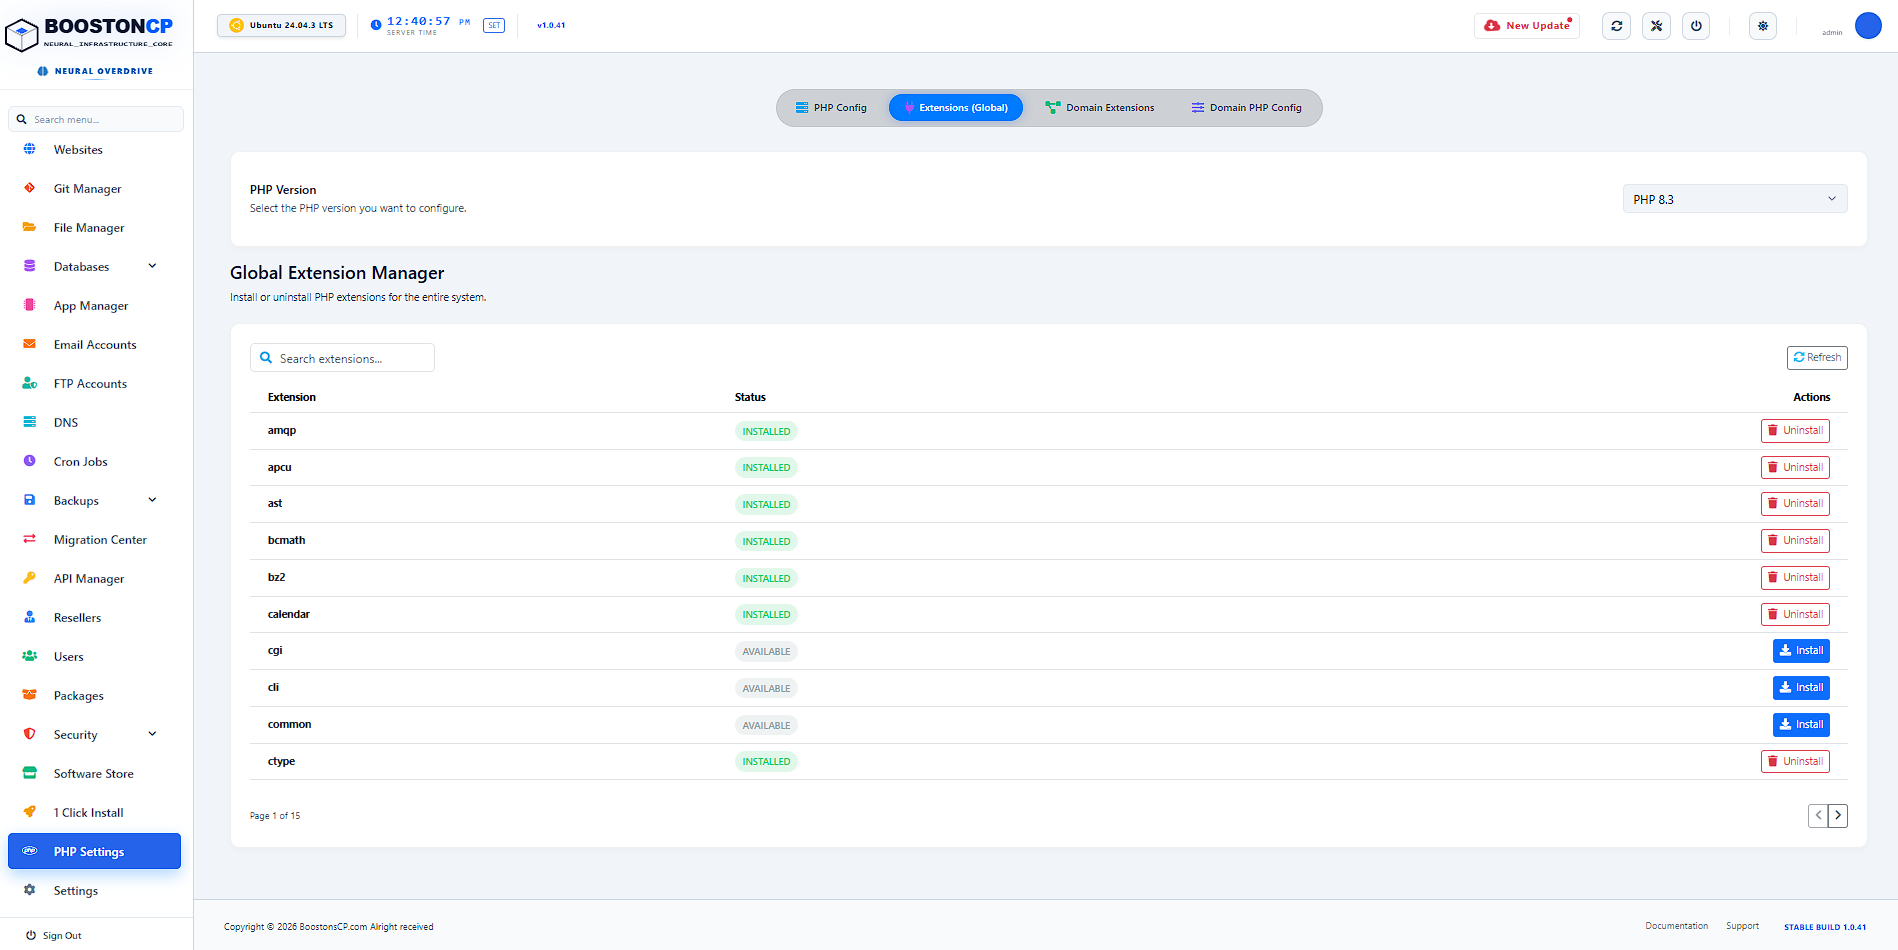
The Solution: Always host Next.js on a VPS equipped with NVMe SSDs. Because BoostonCP runs on native Linux filesystems without the heavy virtualization overhead of Docker, Node.js can read and write to the local NVMe `.next/cache` directory with near-zero latency, often outperforming Vercel's distributed edge cache for localized traffic.
2. The "sharp" Image Optimization Trap
If you use the
The Solution: You must install the high-performance C++ image processing library. Simply run npm install sharp in your Next.js project directory. When PM2 restarts the application, Next.js will automatically detect sharp and offload image resizing to the C++ binary, instantly resolving the CPU bottleneck and delivering WebP/AVIF images at lightning speed.
The BoostonCP Advantage: World's Only Domain-Level Webserver Switch
Setting up PM2 and Nginx blocks manually via SSH every time you want to deploy a Next.js app is tedious. This is exactly why developers flock to Vercel. But what if you could have the absolute best of both worlds?
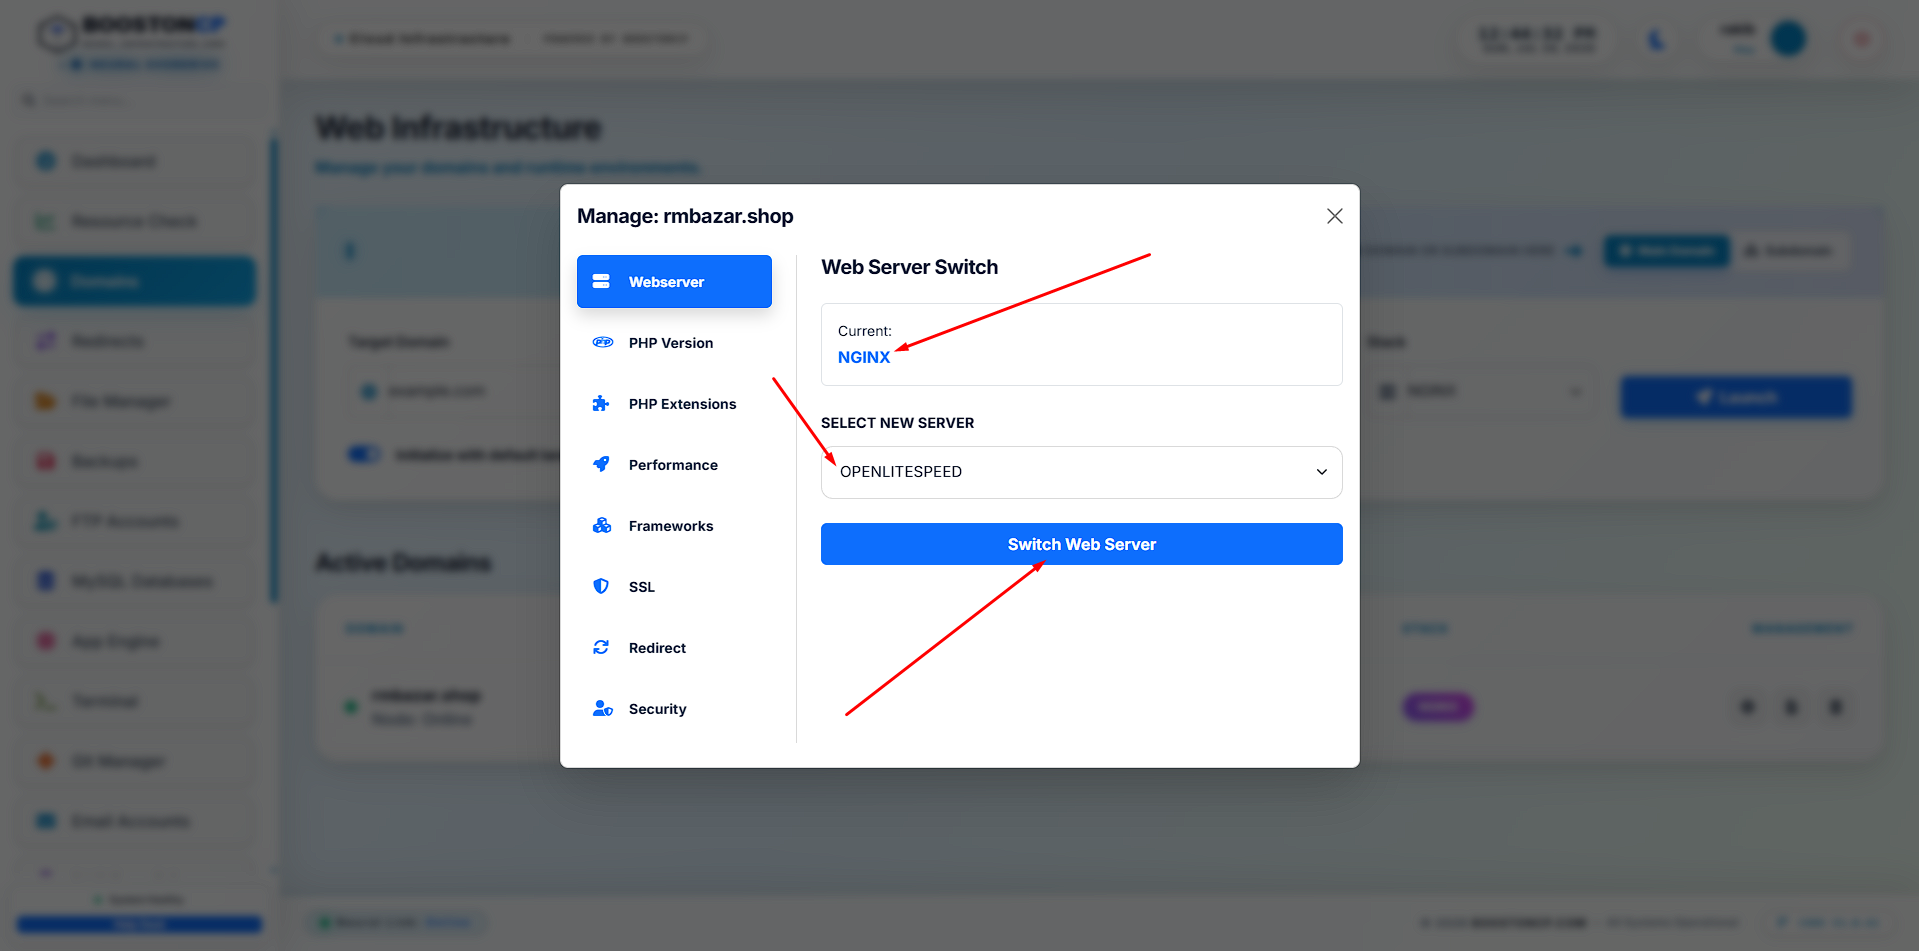
This is where BoostonCP revolutionizes the self-hosted ecosystem. Unlike legacy panels like cPanel or CyberPanel that force the entire server to run on a single webserver engine, BoostonCP features the World's Only Domain-Level Webserver Switch.
Why does this matter for a Next.js developer? Because it allows you to run a highly optimized OpenLiteSpeed server for your main WordPress marketing site (example.com) to leverage LSCache, while simultaneously running an Nginx Reverse Proxy on the exact same VPS for your Next.js SaaS dashboard (app.example.com). In traditional architectures, this requires complex Docker routing or multiple servers. In BoostonCP, it is a one-click dropdown.
You can read the deep technical benchmark of this architecture in our Nginx vs OpenLiteSpeed Benchmark.
Step-by-Step Practical Guide: Deploying Next.js 15 on BoostonCP
Let's drop the theory and deploy a real Next.js 15 application using BoostonCP's native PM2 App Engine, running strictly under unprivileged Linux UIDs for maximum security and resource isolation.
Step 1: Provision the Domain and Nginx Proxy
- Log into your BoostonCP User Panel.
- Navigate to Domains → Add Domain.
- Enter your domain (e.g.,
app.yourdomain.com). Crucially, select Nginx as the Webserver Engine from the dropdown. - Once created, click on SSL/TLS and issue a 1-click Let's Encrypt certificate.
Step 2: Upload the Next.js Source Code
- Navigate to the File Manager or use the built-in Git Manager.
- Pull your Next.js 15 repository into the
public_htmldirectory of the domain you just created. - If using the File Manager, you can upload the `.zip` file and extract it instantly via the UI.
Step 3: Build the Application
Next.js requires a build step to compile React Server Components (RSC) and generate the `.next` production folder.
- Open the BoostonCP Web Terminal from the sidebar.
- Navigate to your domain's directory:
cd ~/yourdomain.com/public_html - Install dependencies securely:
npm install - Run the Next.js compiler:
npm run build
Step 4: Launch via the PM2 App Manager
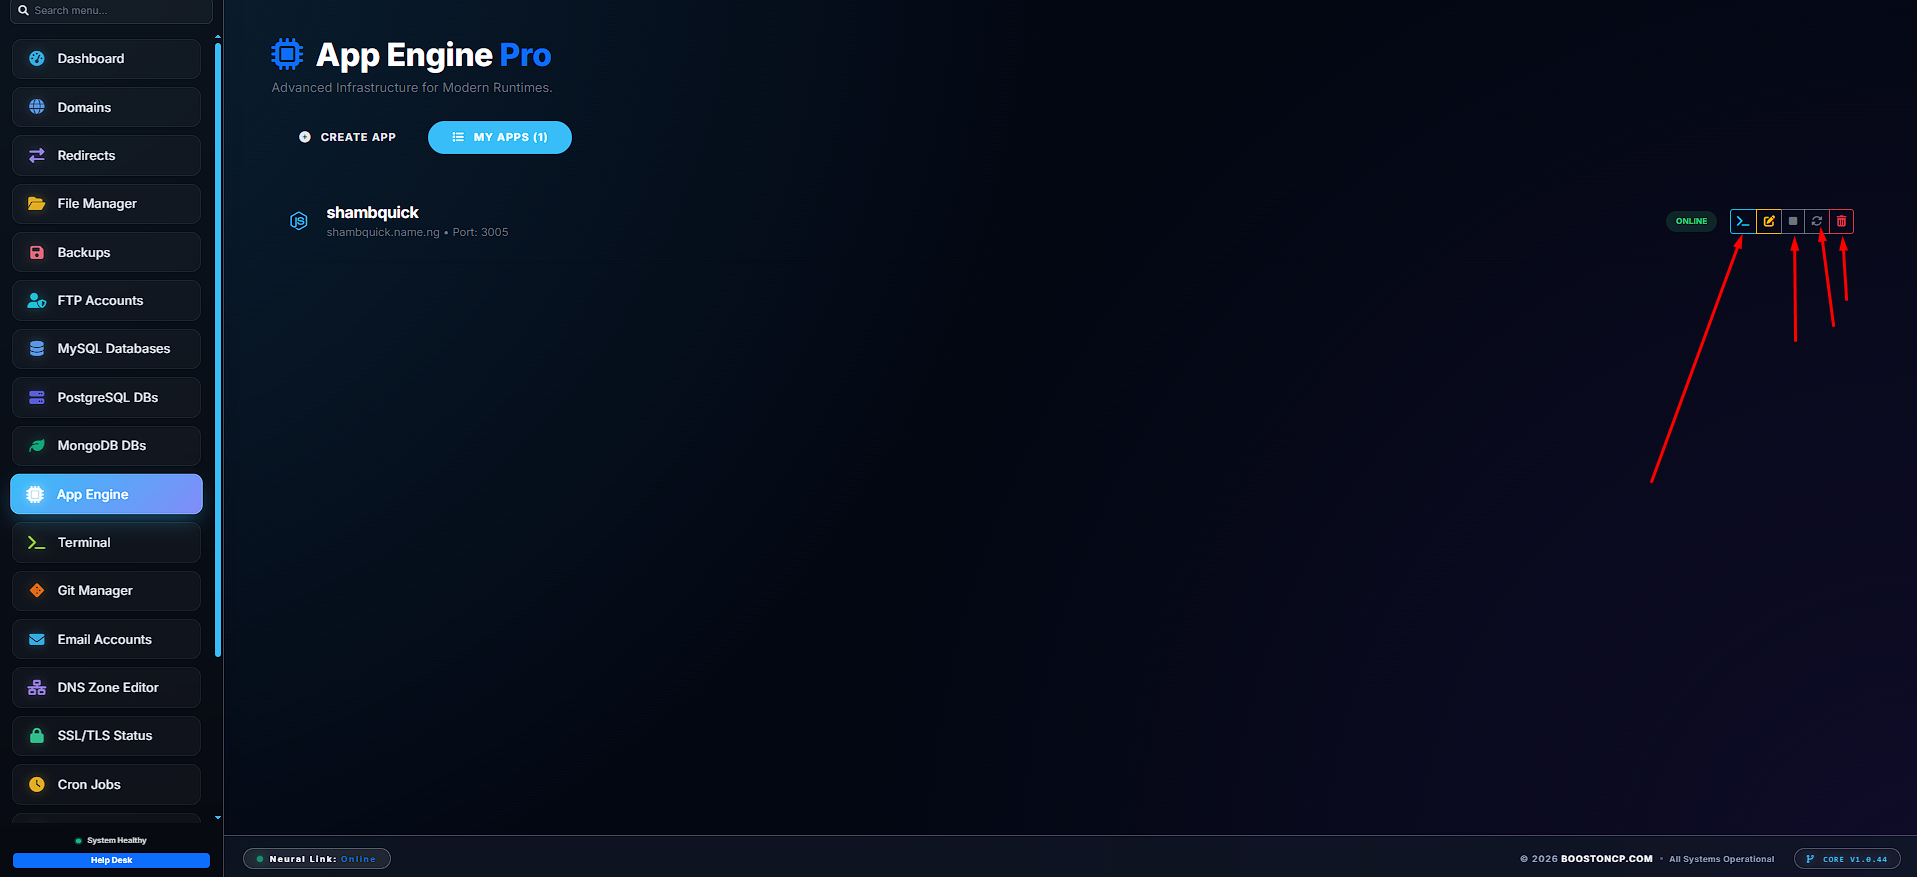
- In the BoostonCP sidebar, click on App Manager.
- Click Deploy New App.
- App Name:
next-prod-dashboard - App Directory: Select your
public_htmlfolder. - Startup Command:
npm run start - Environment Variables (ENV): Define your
DATABASE_URLandNEXT_PUBLIC_API_KEYsafely here. - App Port: Define the port (e.g.,
3000). BoostonCP will automatically configure the Nginx Reverse Proxy to route port 443 traffic directly to this internal port. - Click Deploy App.
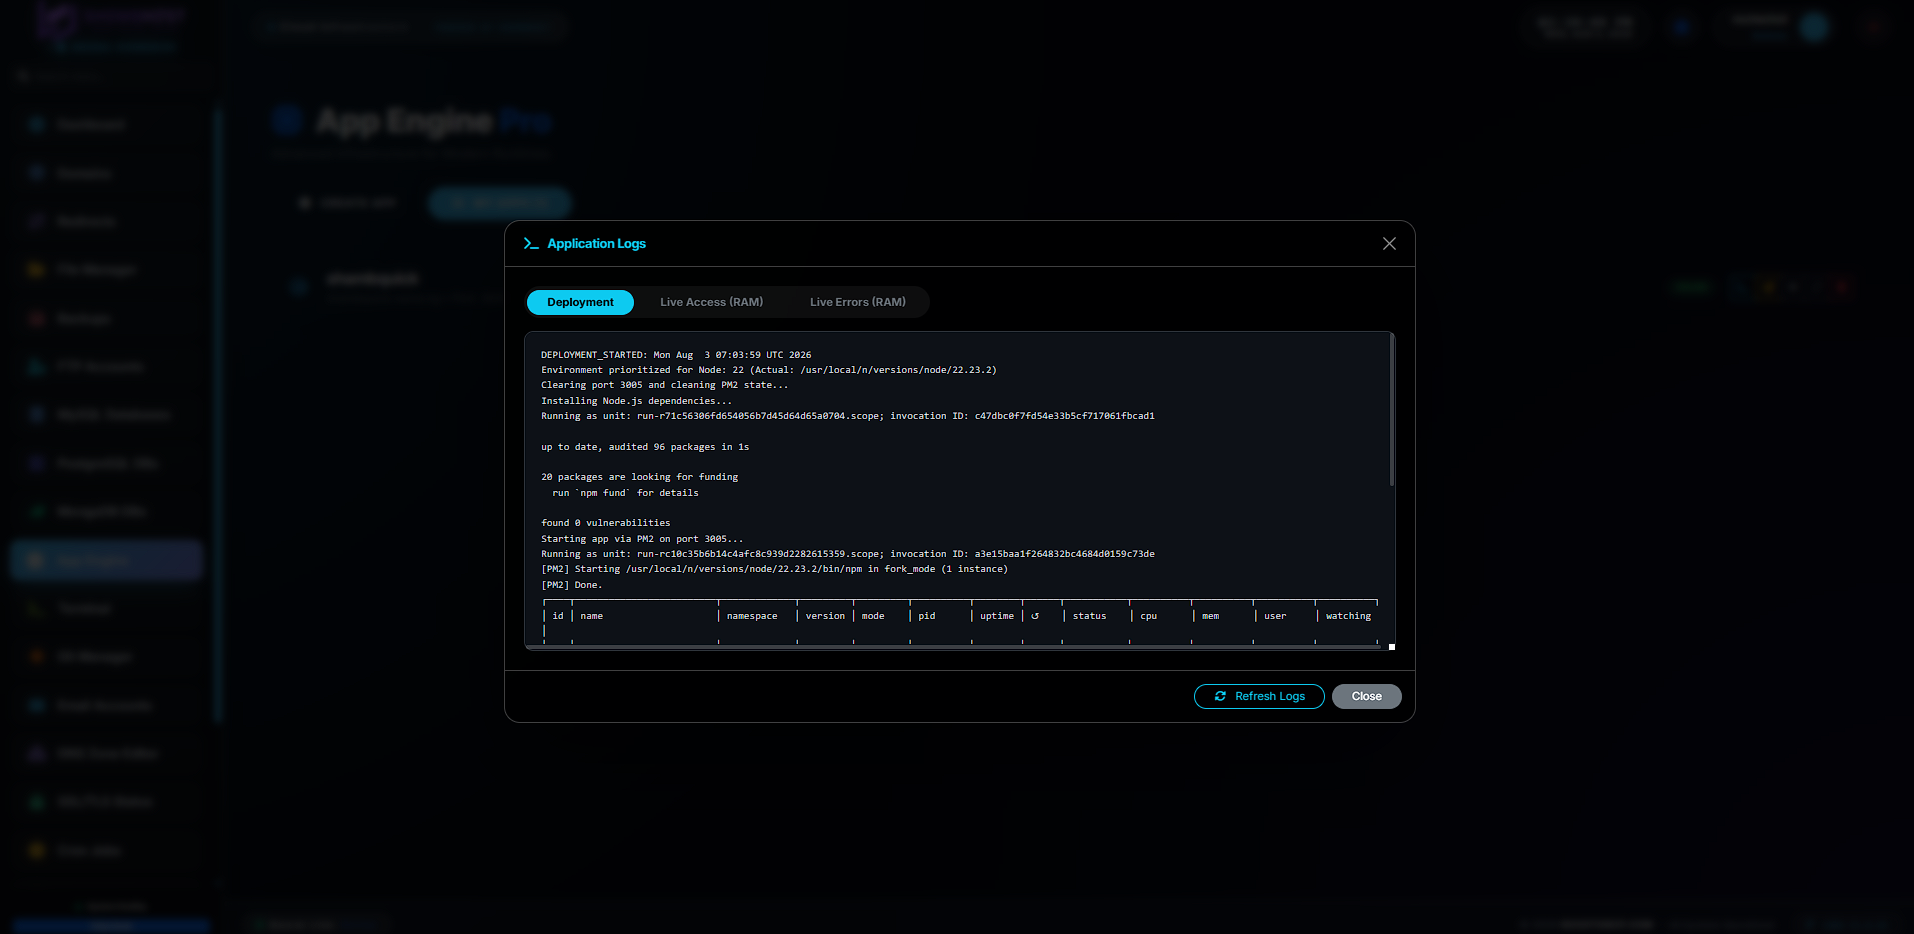
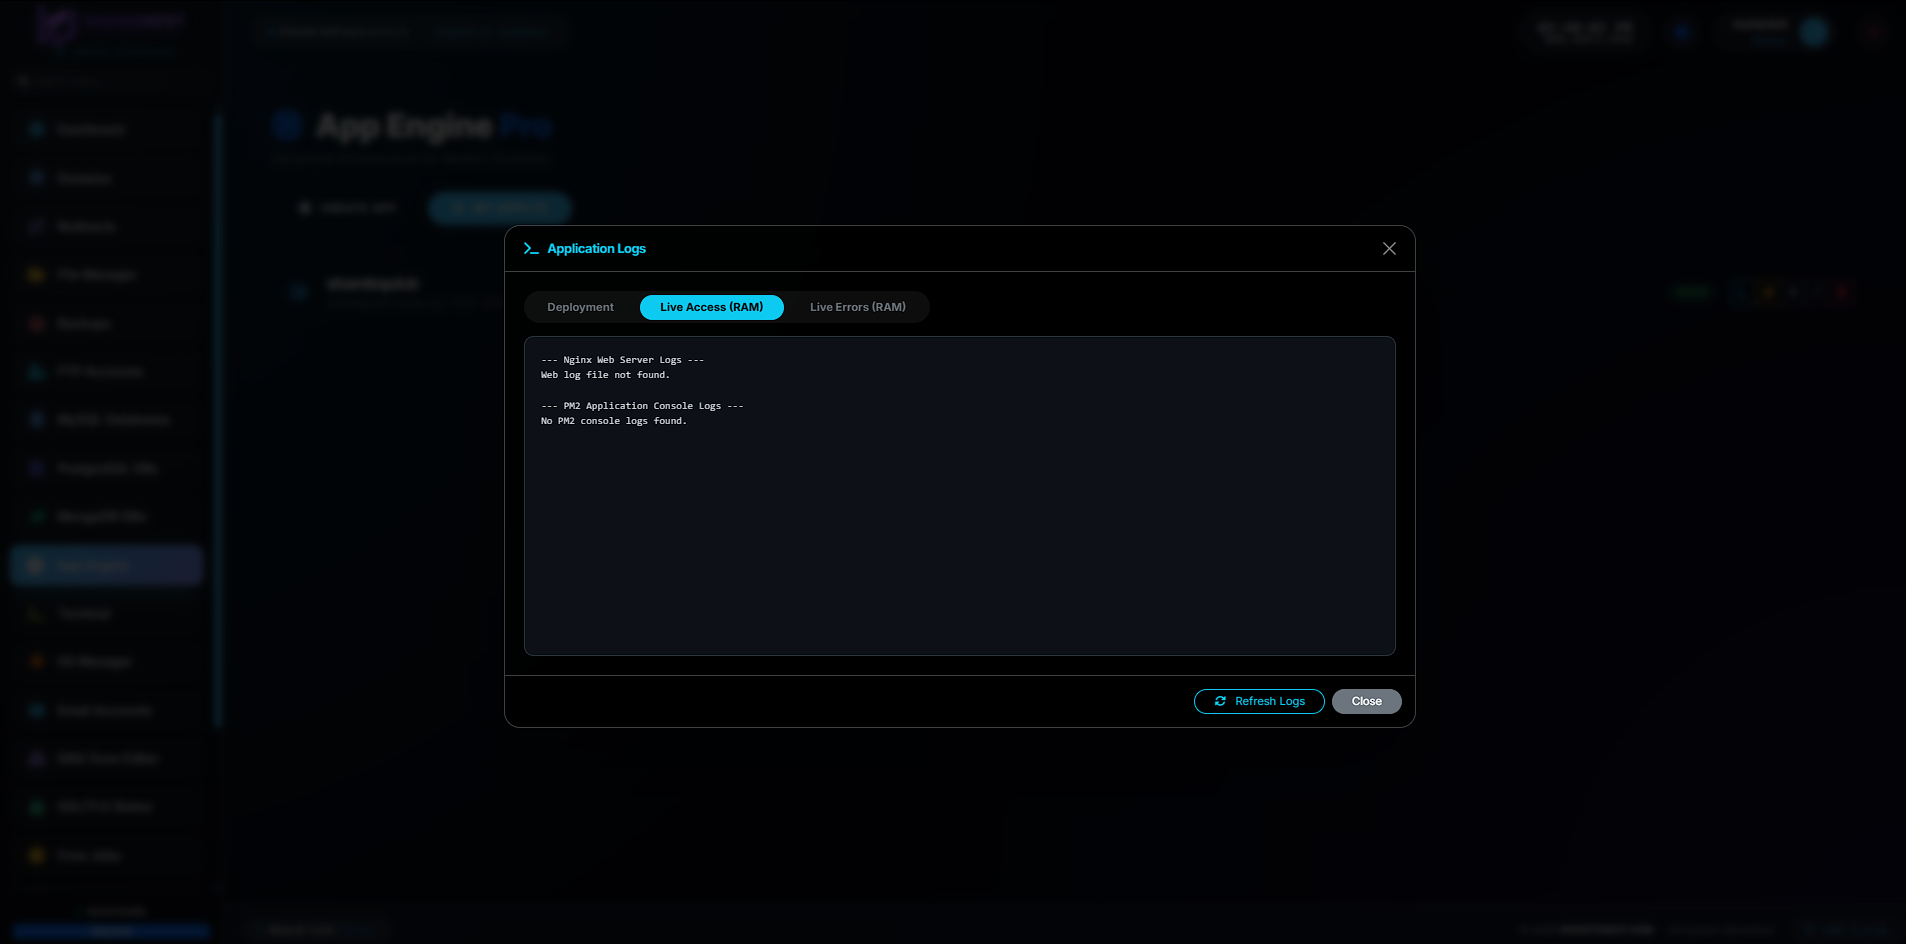
Within seconds, PM2 will daemonize your Next.js application. You can view the live stdout/stderr console.log output directly from the BoostonCP UI terminal window. If your app crashes, PM2 will instantly resurrect it. Your VPS is now a fully functional, self-hosted Vercel alternative.
Conclusion: Reclaiming Digital Sovereignty
The PaaS era convinced developers that server management was a dark art best left to trillion-dollar tech giants. But modern control panels like BoostonCP have completely democratized DevOps. By leveraging Nginx and PM2 on a standard VPS, you retain full ownership of your data, eliminate vendor lock-in, and bypass predatory bandwidth pricing.
You are no longer renting an abstraction. You own the metal.
Frequently Asked Questions (FAQ)
How do I run Next.js continuously on a VPS?
To run Next.js continuously on a VPS, you must compile the app using npm run build, and then daemonize the process using a manager like PM2. You execute pm2 start npm --name "next-app" -- run start. Finally, you configure Nginx as a reverse proxy to route public port 80/443 traffic to the internal port 3000 where PM2 is keeping Next.js alive.
Is PM2 better than Docker for hosting Next.js?
PM2 and Docker serve different purposes. Docker containerizes the entire OS environment, which is excellent for strict portability but carries a slight performance and memory overhead. PM2 is a process manager that runs directly on the host OS. For single-server VPS deployments, PM2 is significantly faster to deploy, consumes far less RAM, and perfectly utilizes native Node.js Cluster Mode to load balance across CPU cores natively.
How to setup Nginx reverse proxy for Next.js 15?
In your Nginx server block for the domain, you must create a location / block that includes proxy_pass http://127.0.0.1:3000;. You must also set the headers proxy_set_header Host $host; and proxy_set_header X-Real-IP $remote_addr; to ensure Next.js receives the correct client IP address. Modern panels like BoostonCP automate this entire Nginx configuration with a single click.
Can I host Next.js without Vercel?
Yes, you can absolutely host Next.js without Vercel. The next start command creates a standard Node.js server that can be hosted on any Linux VPS (like DigitalOcean, Linode, or Hetzner). By using PM2 to keep the app running and Nginx to handle SSL and domain routing, you achieve a self-hosted architecture that is fundamentally identical to Vercel's backend, minus the high bandwidth costs.
Stop Paying the Vercel Tax. Own Your Infrastructure.
Deploy Next.js, React, and WordPress on the same $5 VPS with BoostonCP. The world's only control panel with a Per-Domain Webserver Switch and native PM2 App Management.